I purchased this unit secondhand for 150.00 Australian dollars. The first owner
paid 194 Australian dollars to Radio Parts Group in Melbourne back in 2013.
It was in good condition and did not look like it have seen much service. It is
the first rotator I have had the opportunity to investigate.
The warranty expired when I handed over the cash, so it was a bit if a gamble.
As the cost reflects, this is a "toy" rotator,however, it offered an
oportunity to learn a little about antenna rotators.
The DOSS website advertises... "Get pinpoint positioning of your outdoor
antenna with the ARREMOTE heavy-duty rotator". In my opinion that is a big
stretch of the truth. It is neither "pinpoint positioning" nor "heavy-duty".
On the otherhand, it was not expensive.
The unit came missing the three wire connector cable. My solution was to buy a
domestic 20 meter, 240 volt extension lead and cut the plugs off both ends.
The next step was to calibrate the unit. That was a revealing exercise. See the
section on Setup and Calibration.
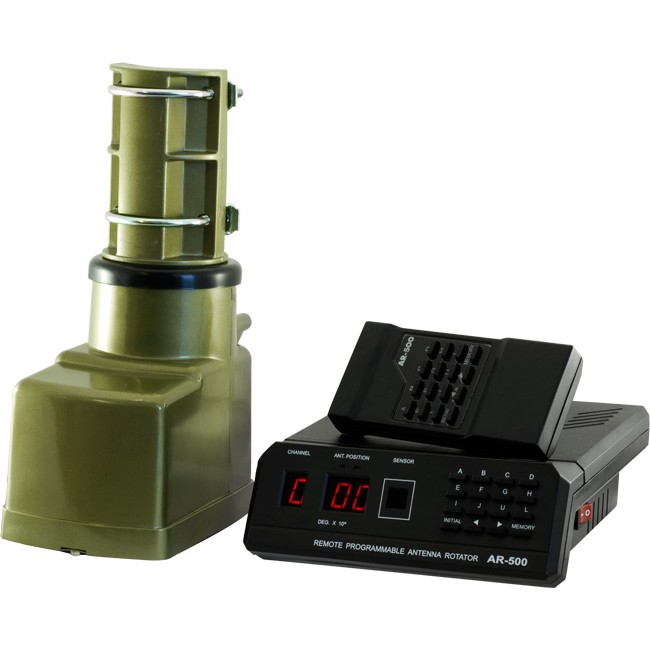
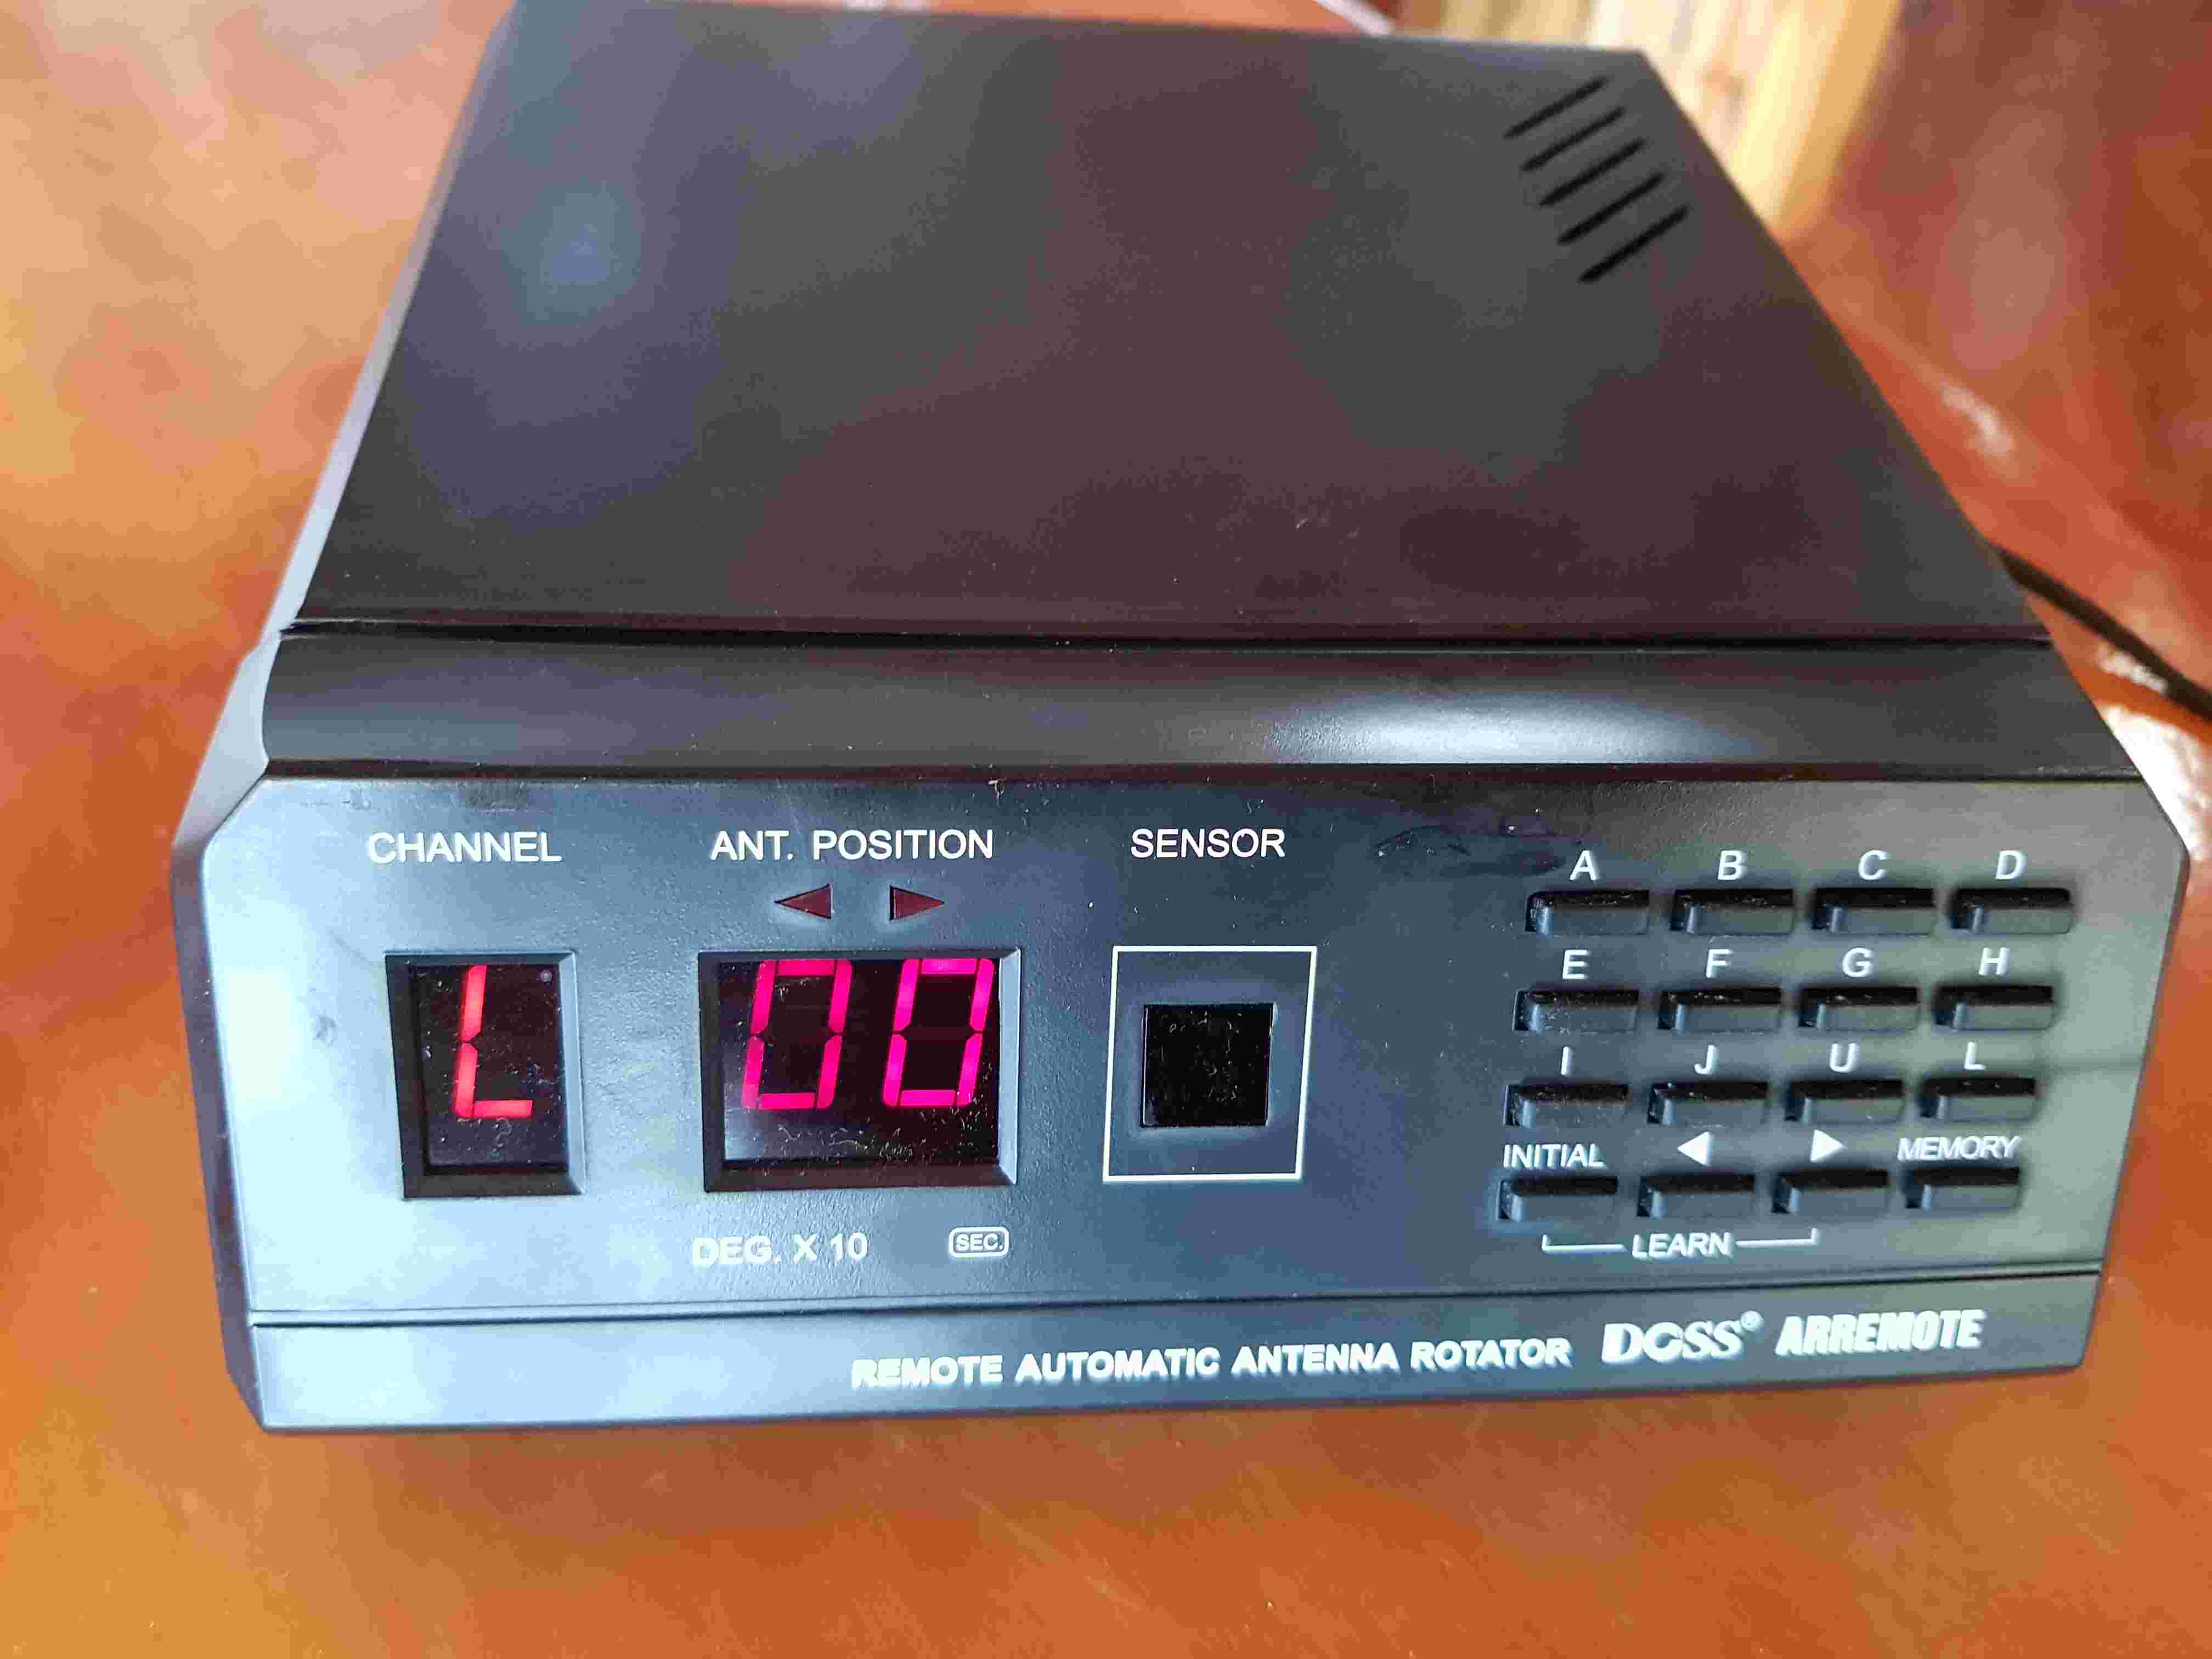
The motorized rotator features an external rotor head that is driven by a
twelve memory channel programmable control unit. It is questionalable how long
the head will last in the weather.
The user manual is not all that helpfull. A copy of the one that came with the unit can be found here: arremote-manual [PDF] [Top][Home]
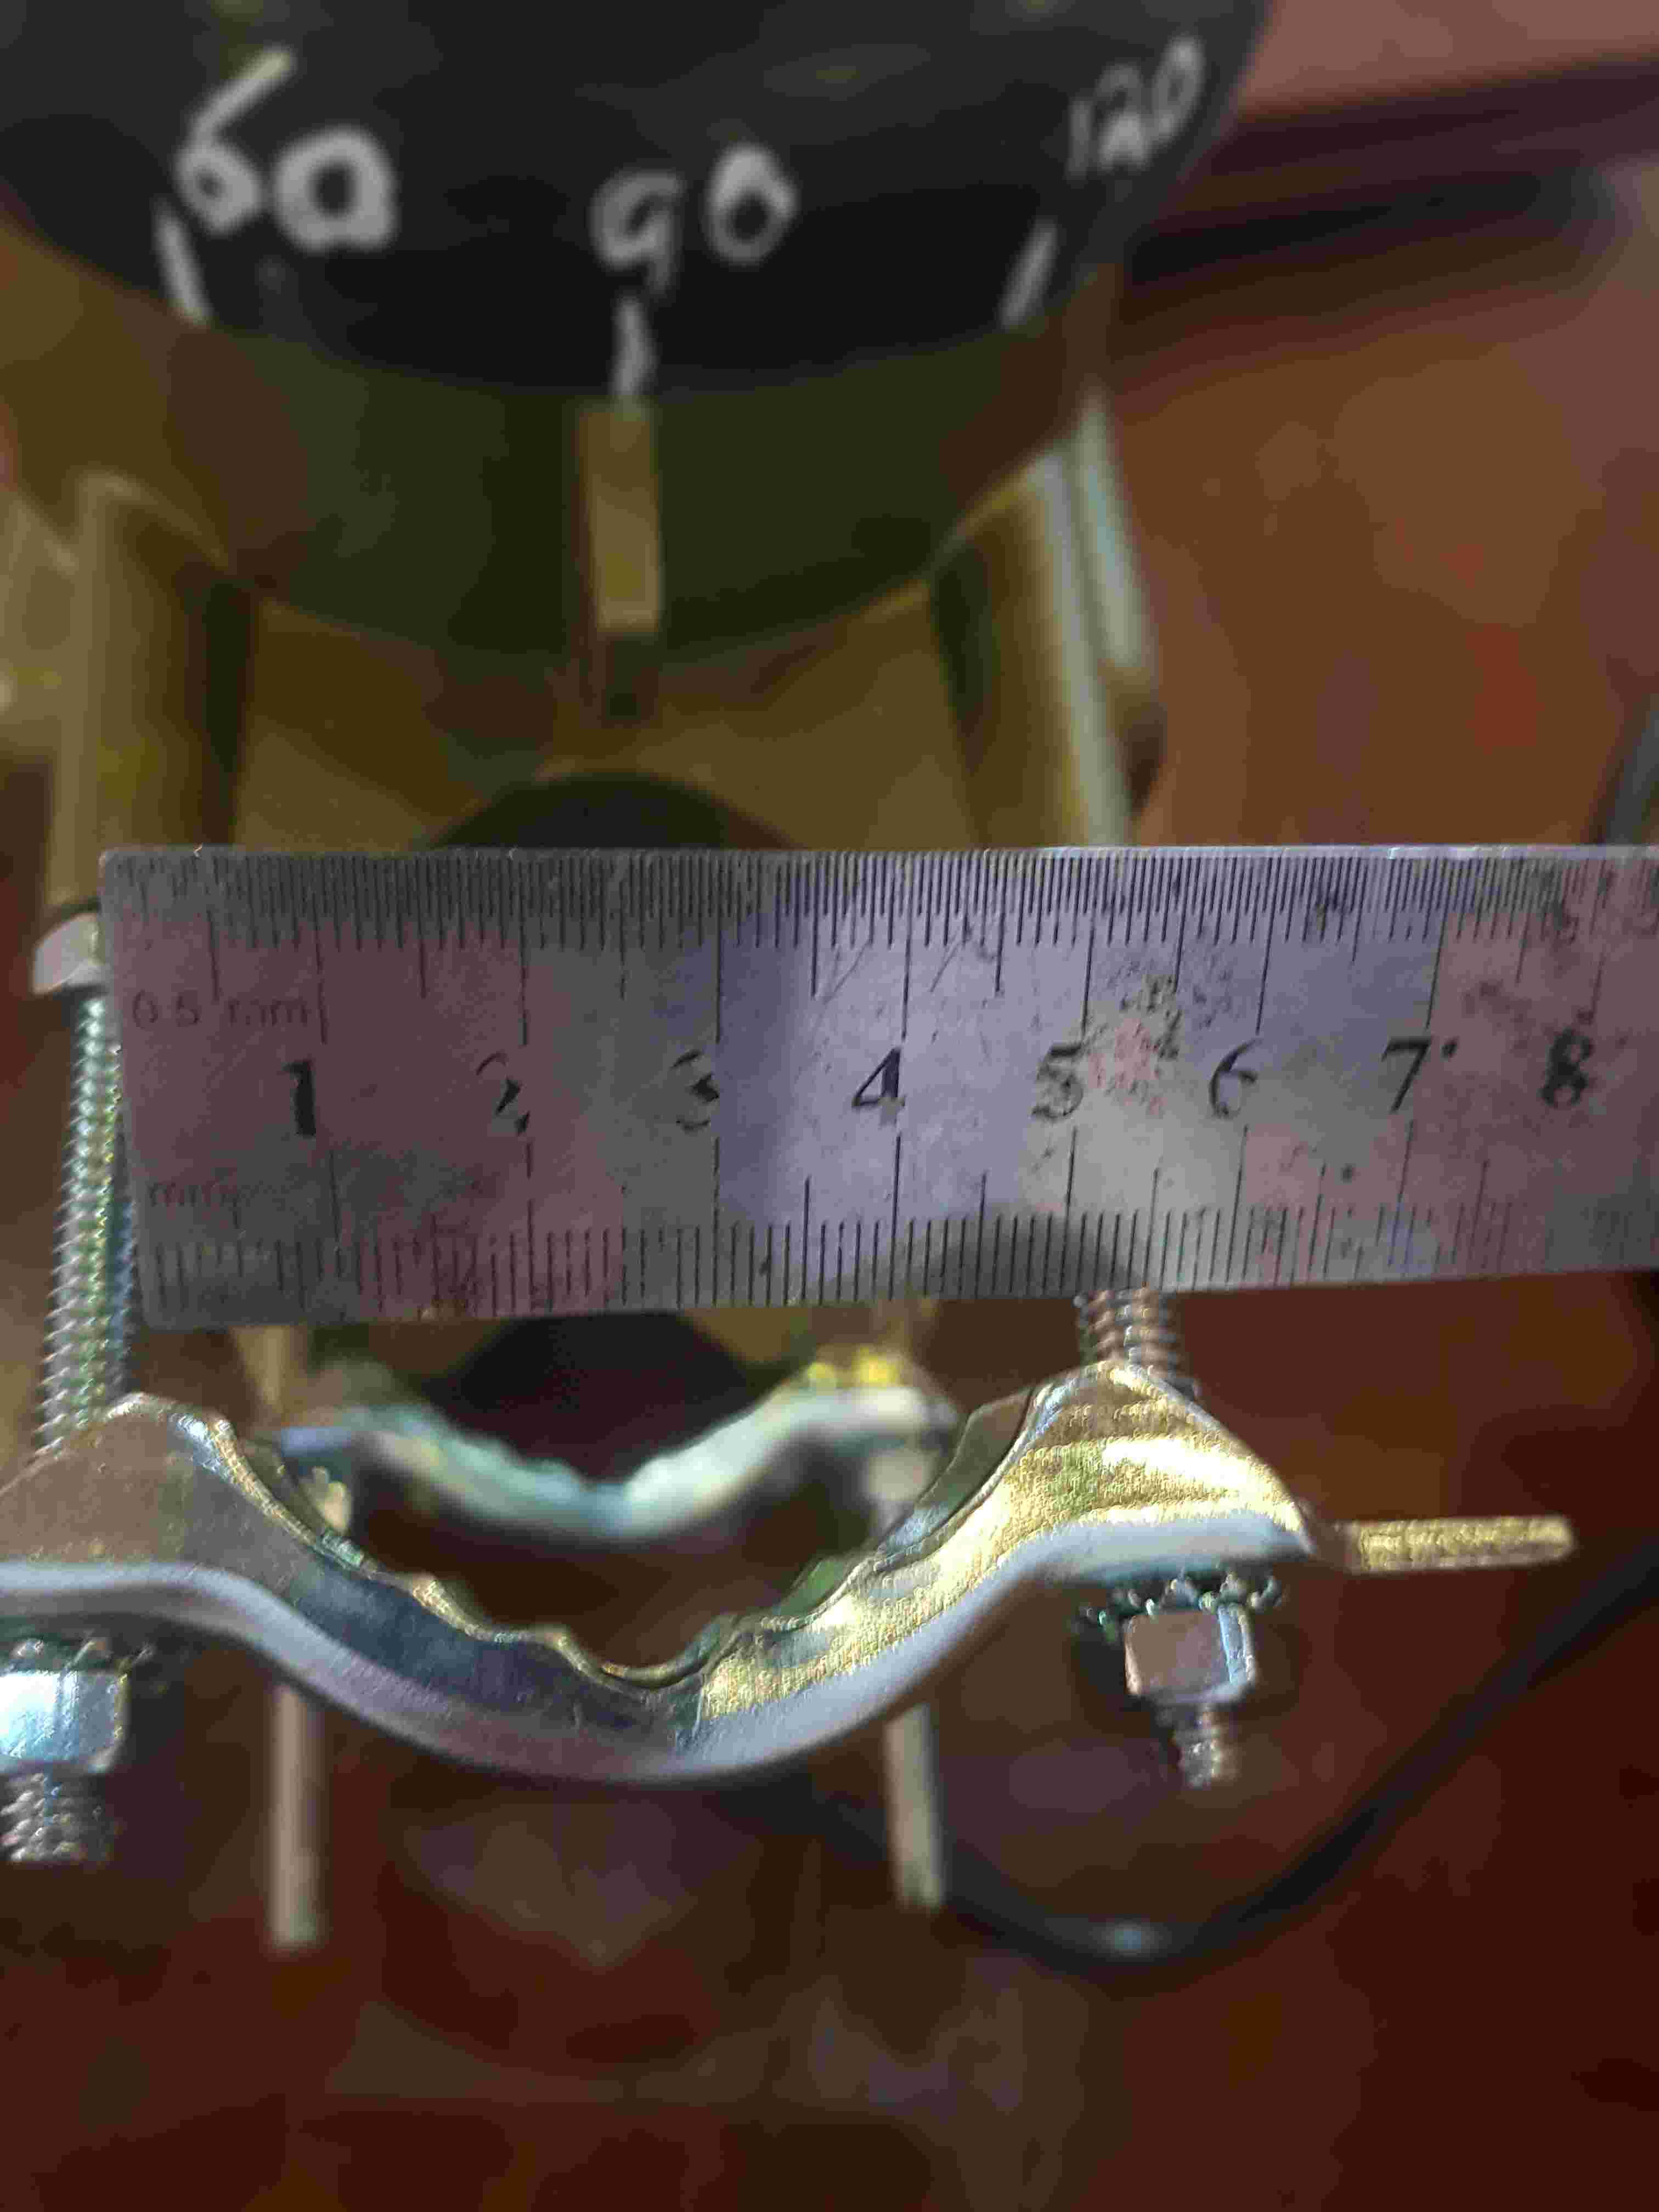
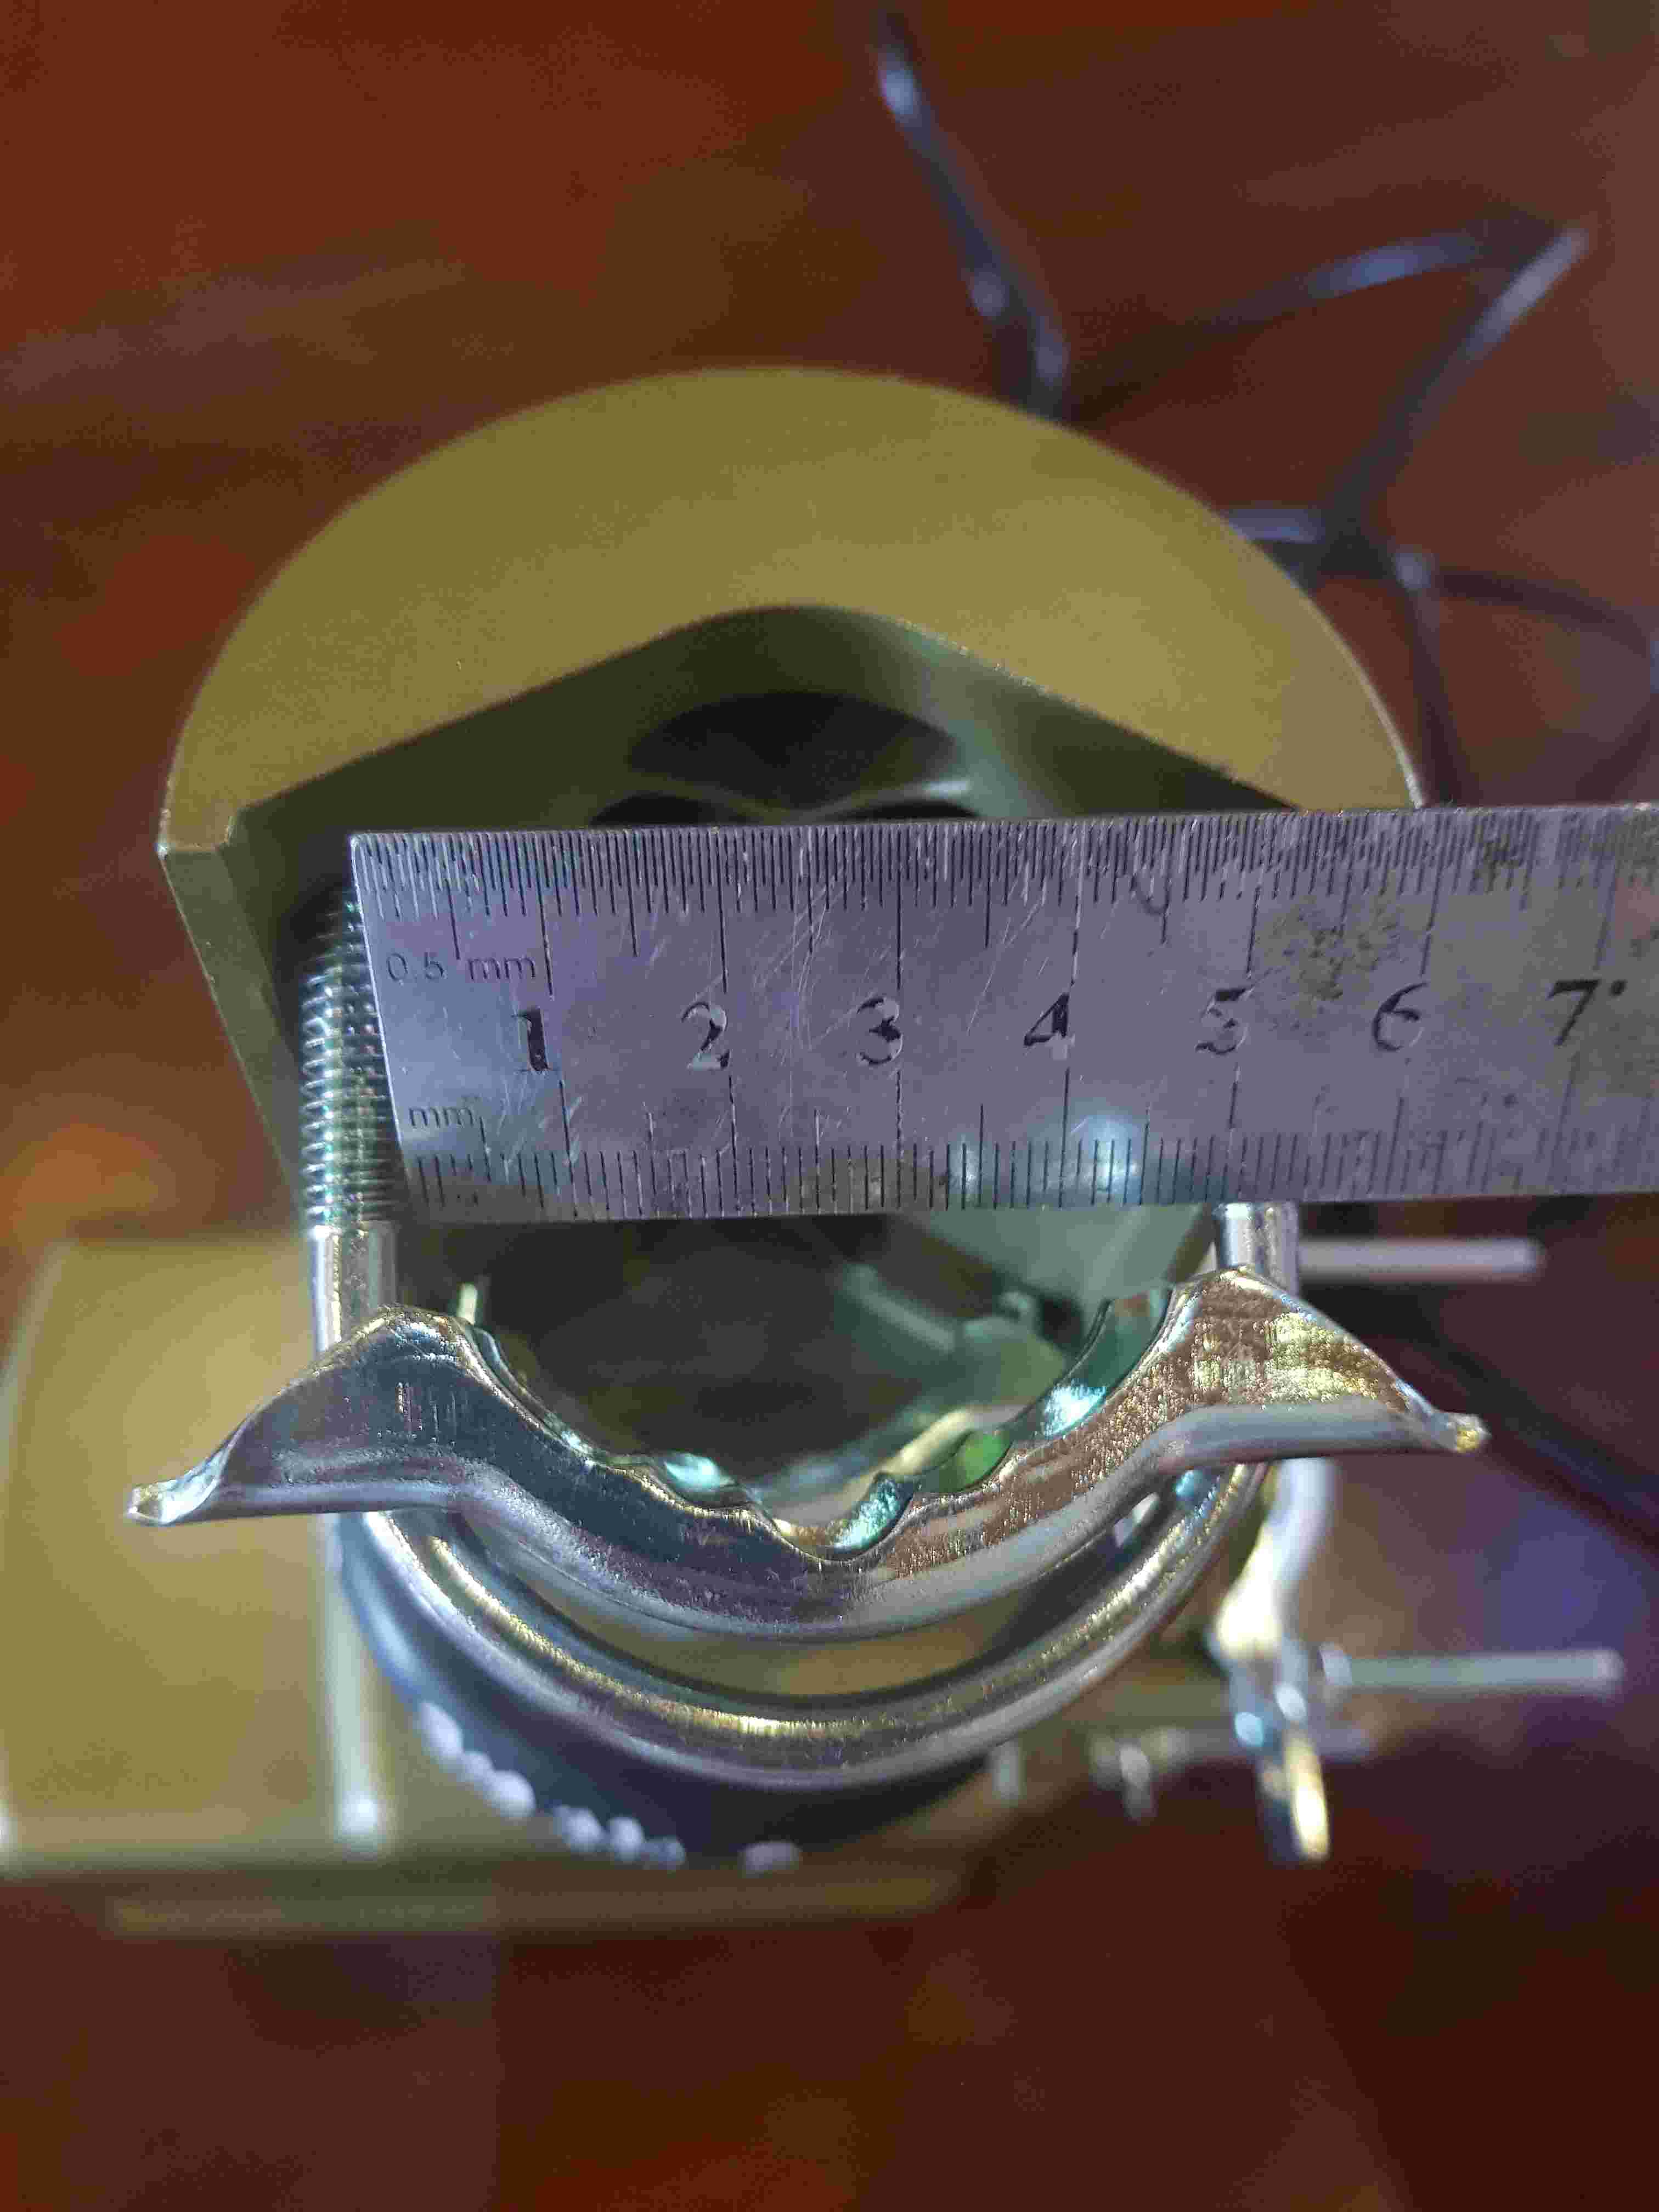
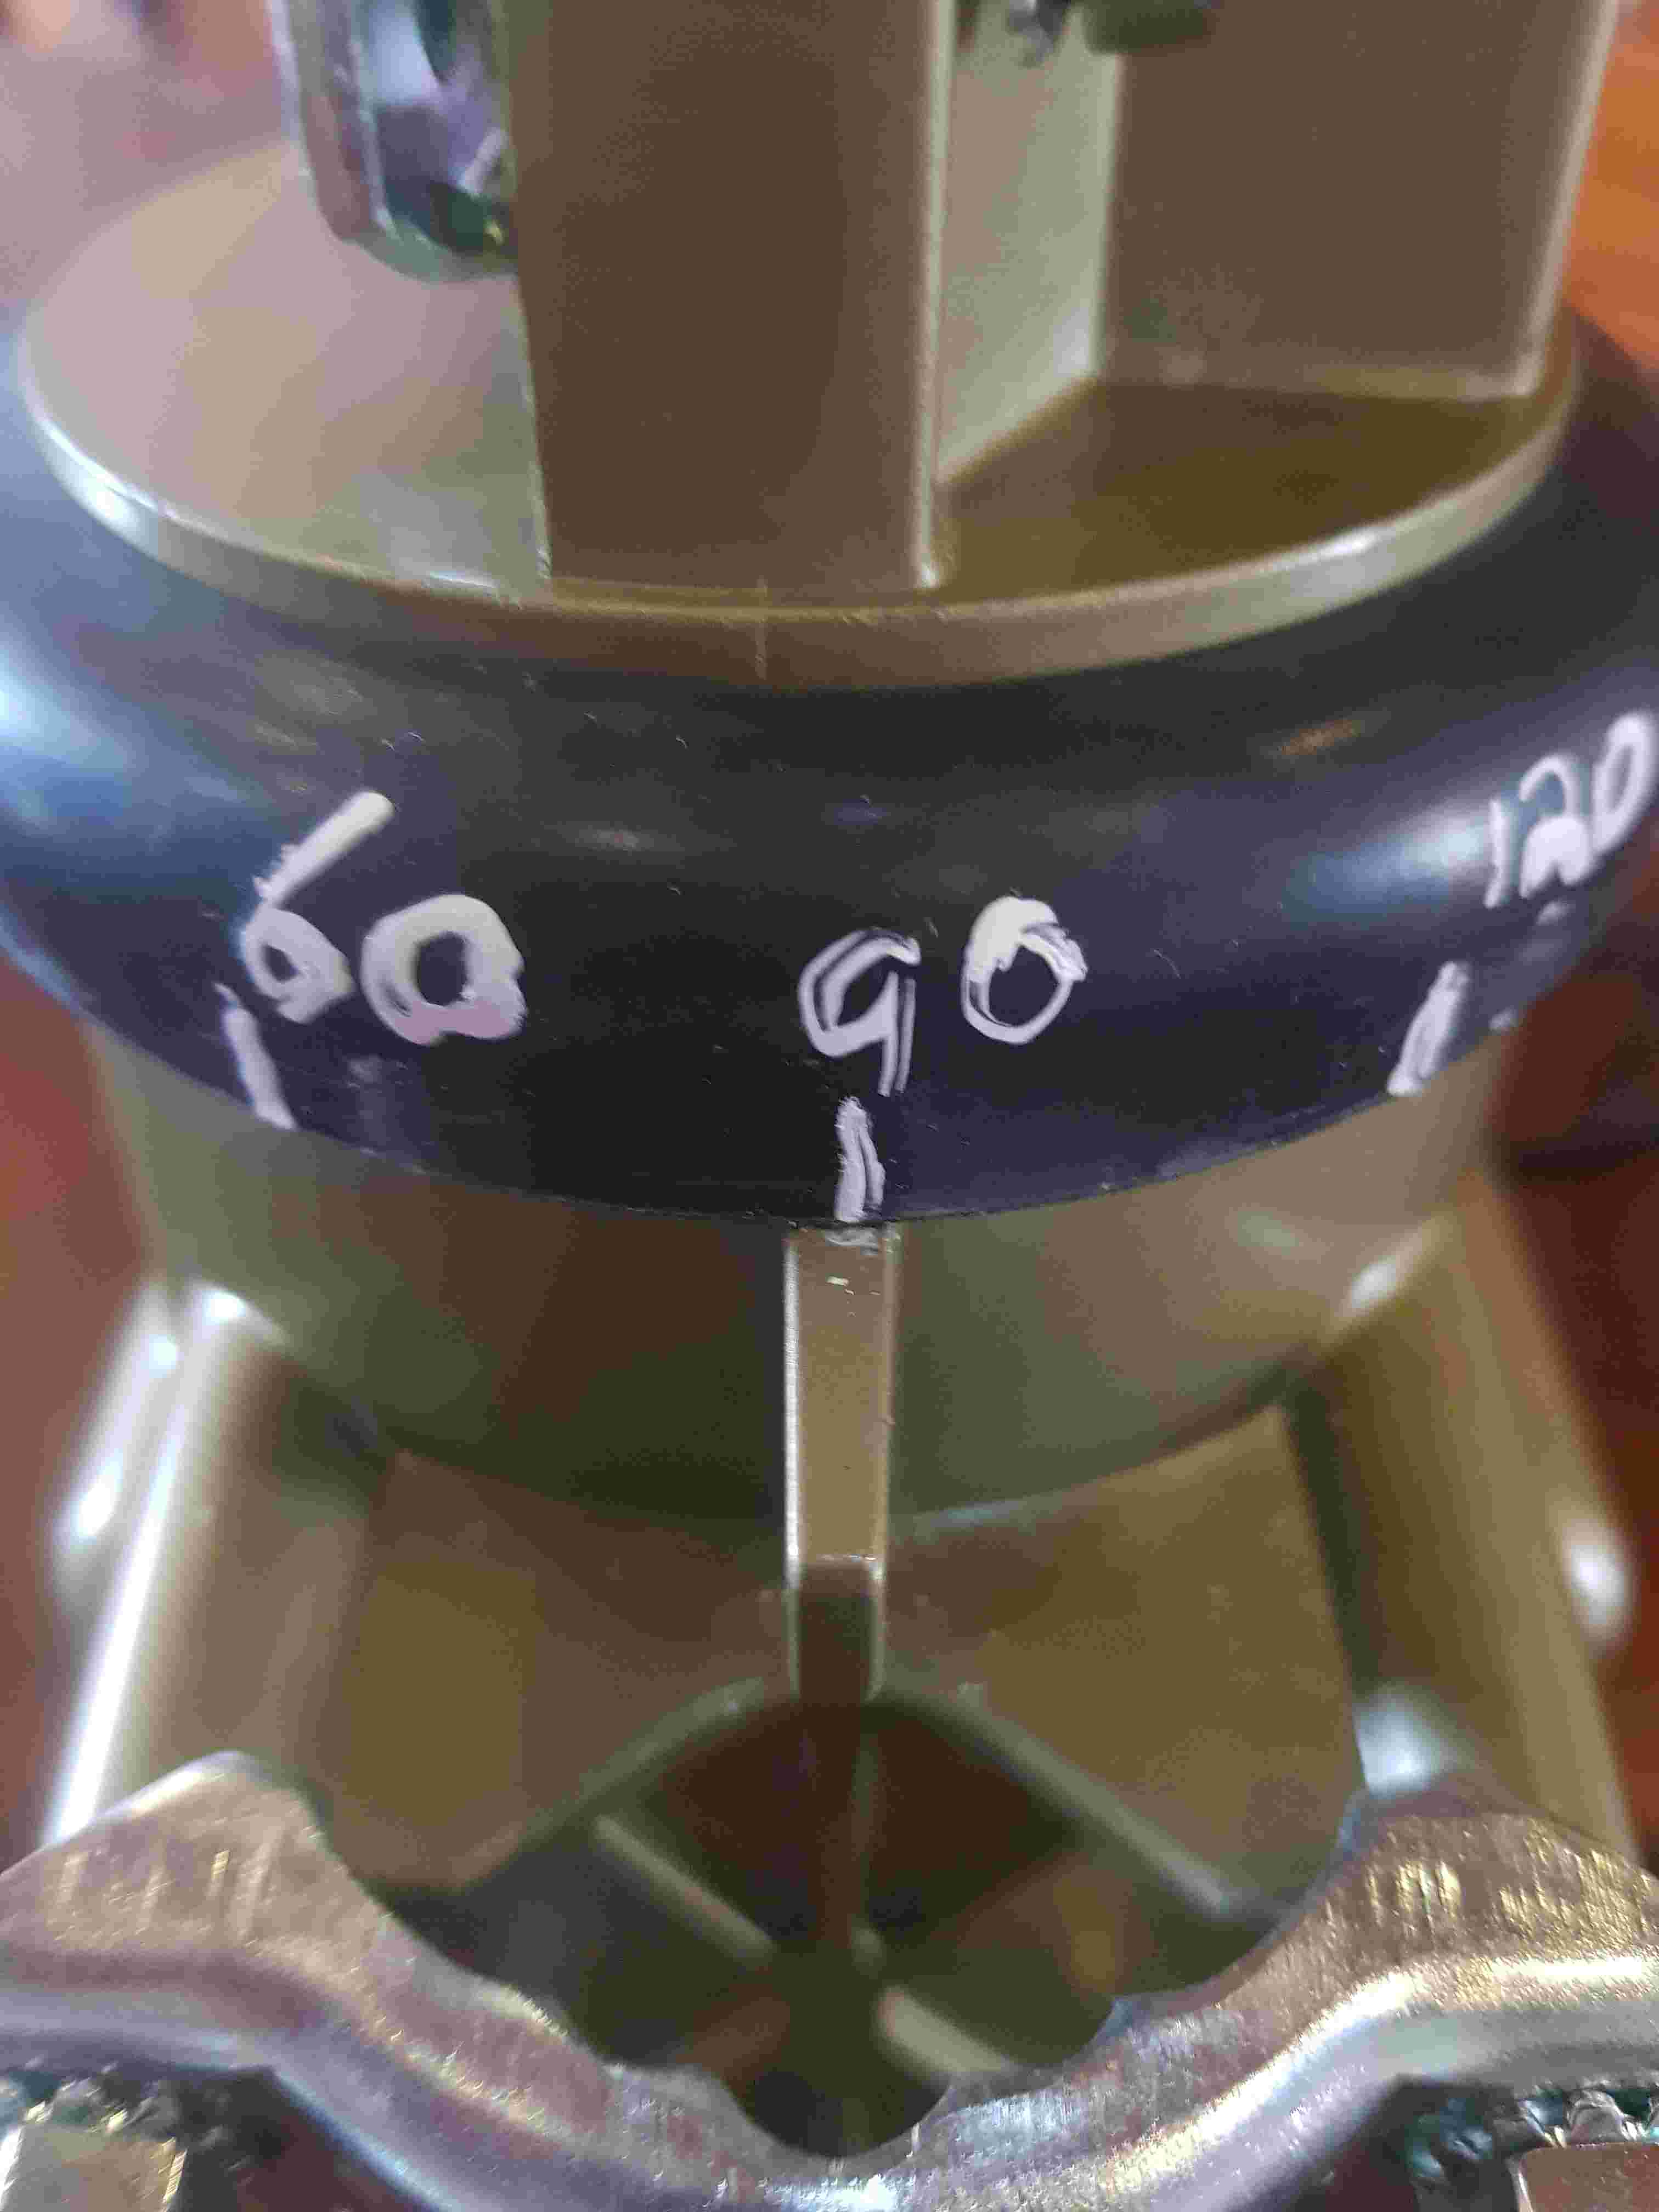
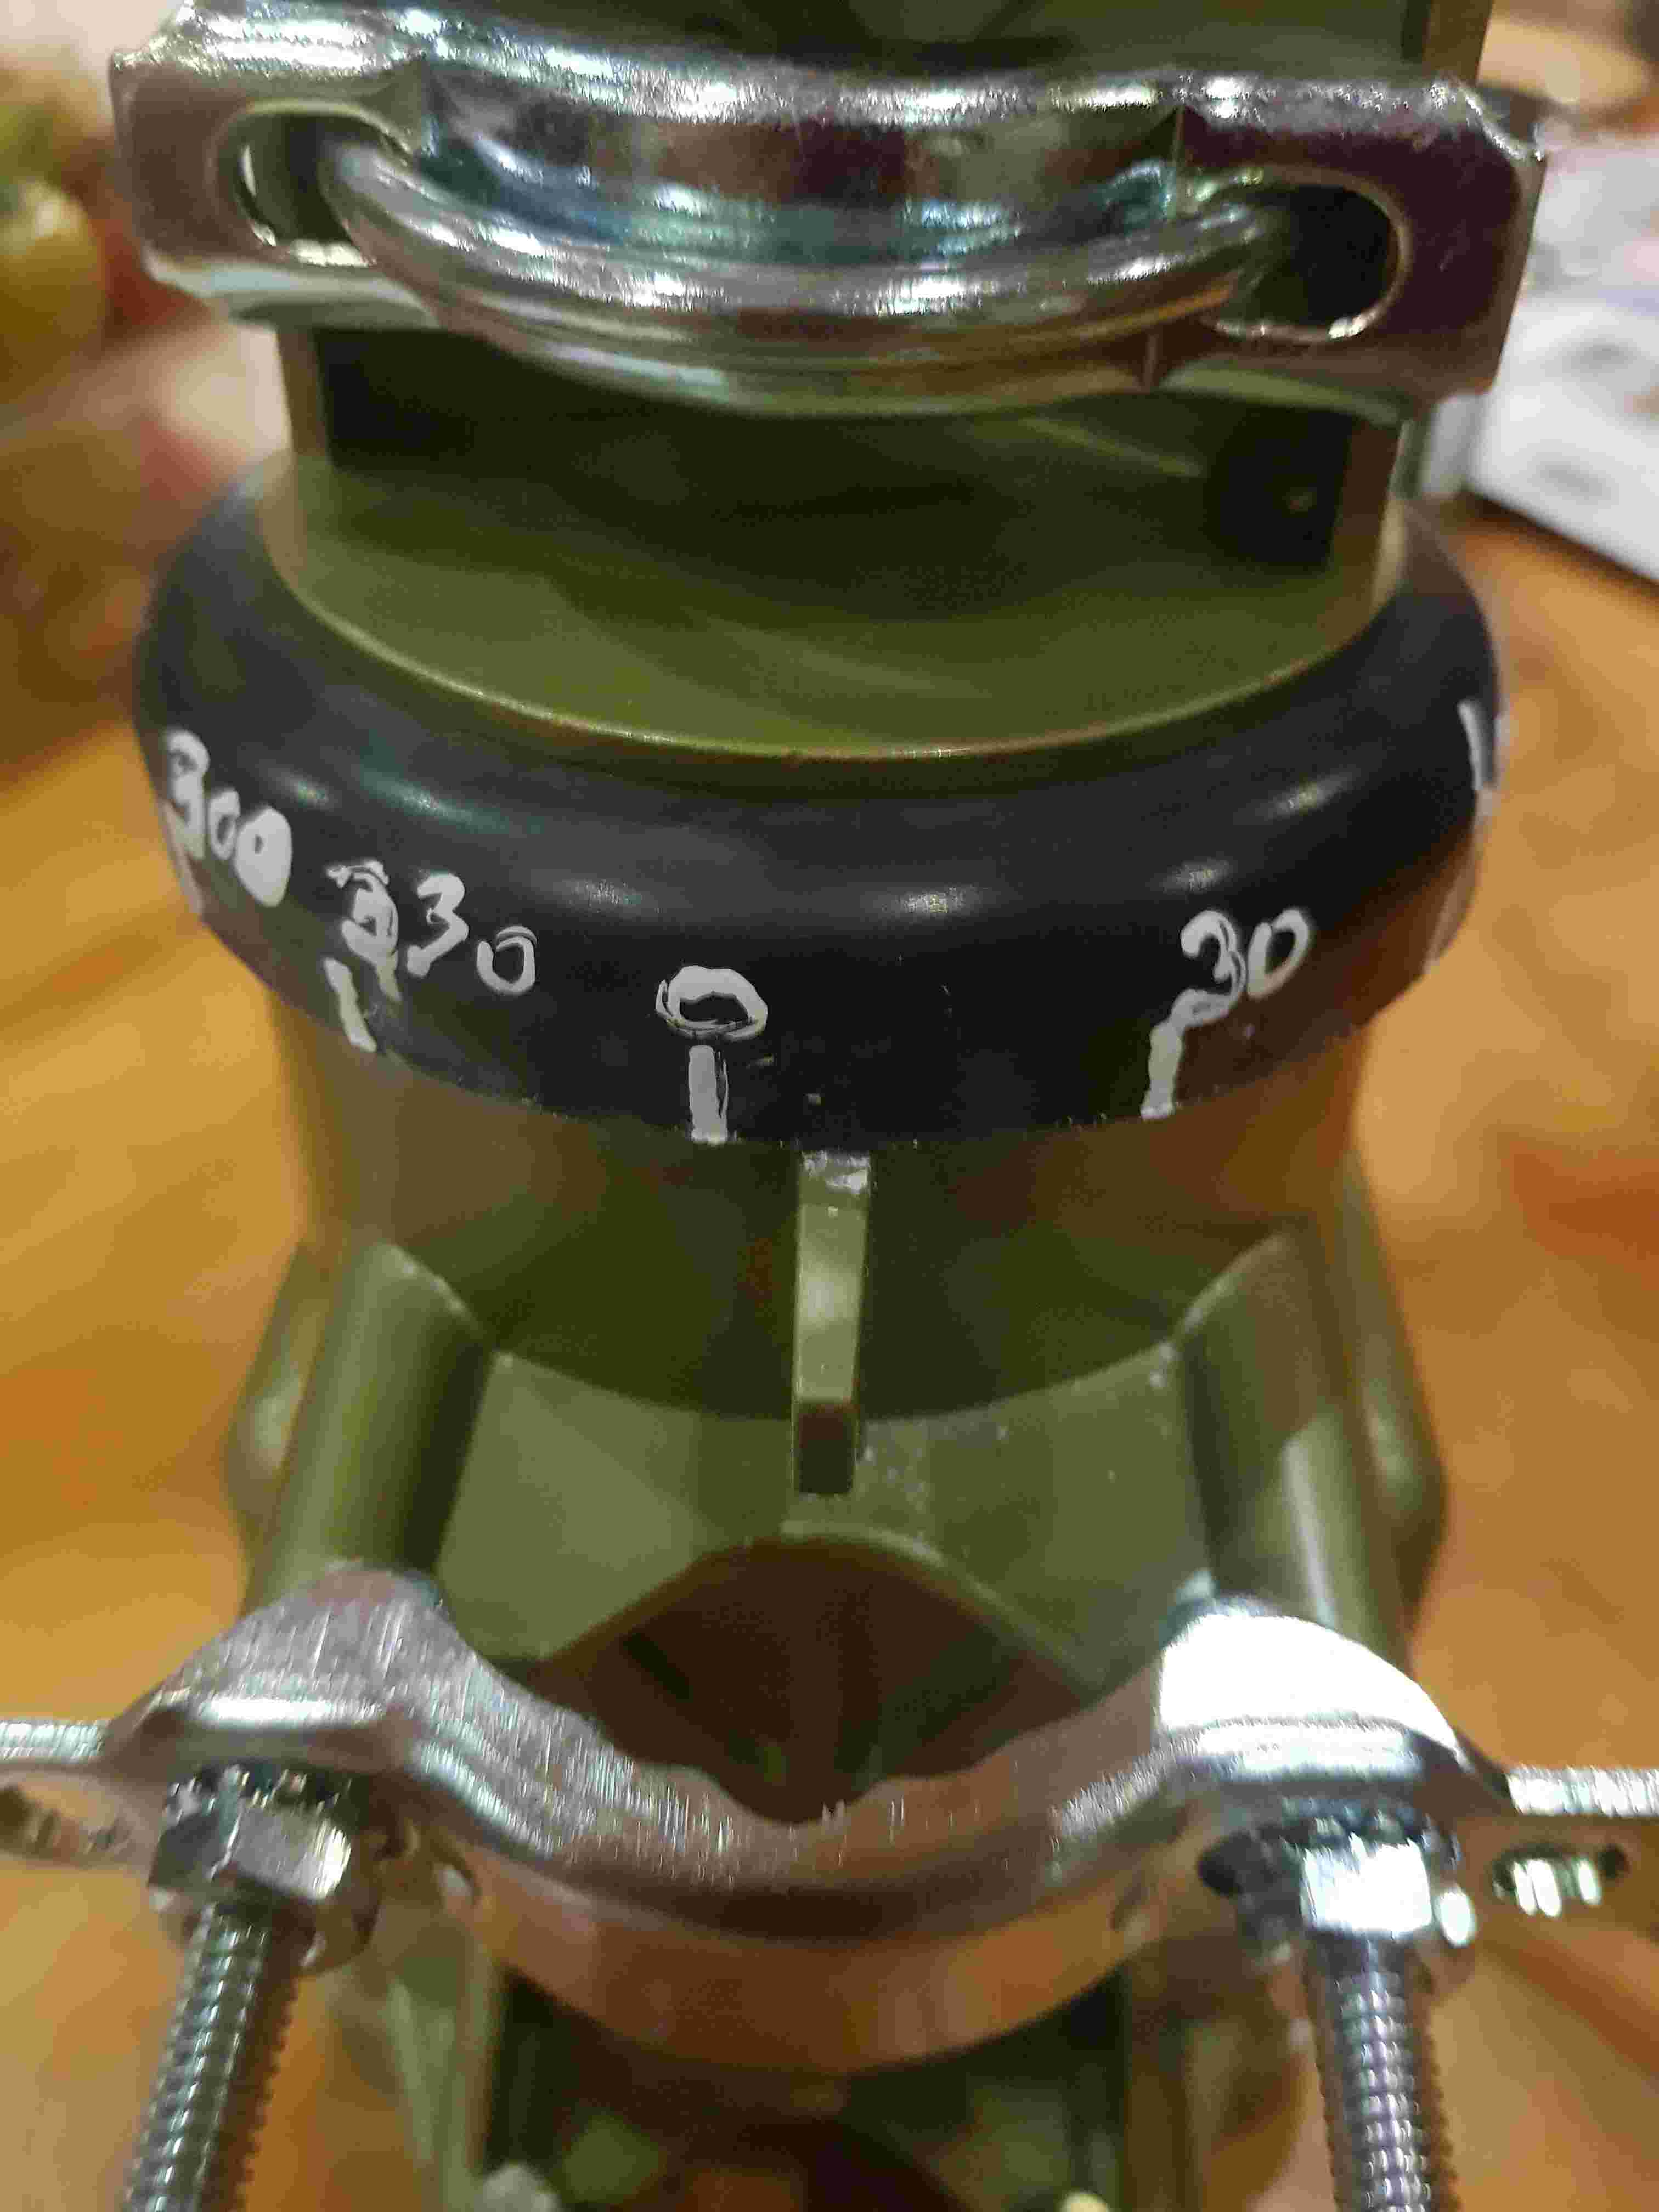
To calibrate the rotator I used a white out pen to mark twelve equal position increments on the head and then proceeded to set the memories to equal division:
After much experimentation I came to the conclusion that the controller gets zero feedback from the
head and relies the time the motor is running in each direction to find the current position.
This is inaccurate and errors accumulate the more the position is changed.
The only way to remove the accumulated error is to perform a INITIALISE-TO-ZERO. Even this is faulty,
as on occasion this funcion does not quite make it back to zero degrees.
[Top][Home]
RESET MEMORY
This is effectively a factory reset. All memory postions will be lost.
Powerup the controler while holding the "D". Both "ANT POSITION" arrows will flash.
Power cycle the controller to return to normal operation.
A CALIBRATION is required after a reset.
INITIALISE-TO-ZERO
The head can be positioned to zero degrees by pressing the "INITIAL" key.
The display thne flashes for about 80 seconds. This is to allow the head to return
from full rotation. The controller assumes the head postion is lost. That is,
it can be positione anywhere between zero and 360 degrees. The addition problem
is that I have found that this function is sometines short a few degree and has
to be performend twice to be sure of a zero degrees position is achieved.
CALIBRATION
Calibration measure the time in seconds that the motor take to turn the head the full 360 degrees. Hold the INITIAL key and the right arrow together. keep hold the two keys until the motor stops on full rotation. Release immediatly and note the time. This unit took 77 seconds to move to the full rotation stop.
TESTING
To test the accuracy I then presed INITIAL to return the head to zero degree and
then each of the memory location, "A" through to "L". It was
plus or minus ten degrees. Not great accuracy. The further the head traveled
form zero degrees the less accurate the positioning reportong became. If the
MAUNUAL POSITIONING keys were used several times to fine tune the direction the
reported position was effective useless.>
[Top][Home]